| Platform | Minimum version |
|---|---|
| Windows | Windows 10 (1809) or later, 64-bit |
| macOS | macOS 10.15 Catalina or later (Intel and Apple Silicon) |
| Linux | Ubuntu 20.04+, Fedora 36+, Arch, or equivalent (glibc 2.31+, WebKitGTK 4.1) |
The macOS download is a universal binary, so one .dmg covers both Intel and Apple Silicon Macs.
macOS releases older than Catalina (Mojave 10.14 and earlier) are not supported. The app declares a minimum system version, so macOS will refuse to launch it rather than starting and failing partway.
First Launch
When you open Mini Diarium, the app starts at the Journal Picker. From there you can create a new journal or open an existing diary.db file.
+ Create New Journal opens a save dialog pre-filled with a default location and the filename diary.db. Pick where to save it — the default location works as-is — give the journal a name, and click Add.
The default location is a Mini Diarium folder inside your Documents folder, or a folder inside the app's own data directory where Documents is not writable. On the Flathub build, where the app is sandboxed, a save dialog cannot reliably remember a folder outside the sandbox, so + Create New Journal shows a form directly instead — with an editable Filename field plus Browse… and Use default location to choose where the file goes.
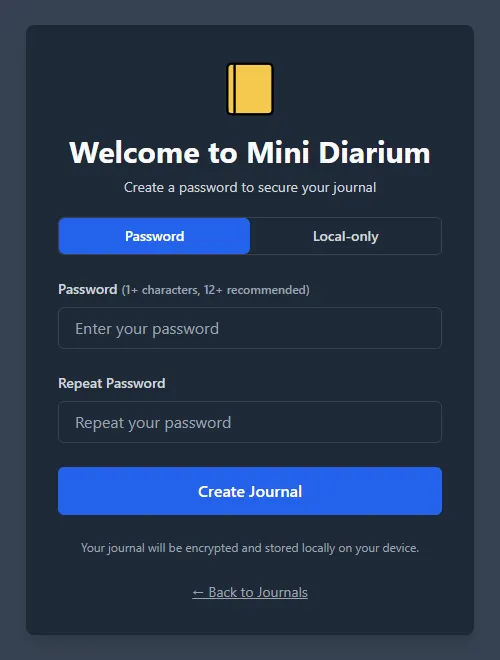
If you create a new journal, you will be asked to create a password. This password encrypts your entire journal using AES-256-GCM encryption.
There is no password recovery. If you forget your password, your entries cannot be recovered. Choose something memorable and keep it safe.
Welcome Tour
The first time you create a journal, a three-step overlay tour appears to highlight key features:
- Enable the advanced toolbar: turn on extra formatting controls in Preferences → Writing.
- Import your entries: bring in content from Day One, Obsidian, or plain text files via the Import panel.
- Read the documentation: links to the online guides and keyboard shortcut reference.
Each step shows a callout card with a direct action link. You can navigate with Back and Next, or click the Minimize (⊟) button in the card header to collapse the tour into a floating help icon (?) at the bottom-right of the window. Pressing Escape while the tour is open minimizes it rather than closing the app.
To resume or permanently dismiss the tour, click the ? icon and choose Resume Tour or Dismiss. Completing all three steps also dismisses it automatically. The tour only ever appears once per app profile. It does not repeat on subsequent launches or when adding new journals.
Locking and Unlocking
Your journal is encrypted whenever it is locked. After selecting a journal, enter your password to unlock it. The journal locks automatically when you close the app, and you can also lock it manually using the lock icon in the header at any time.
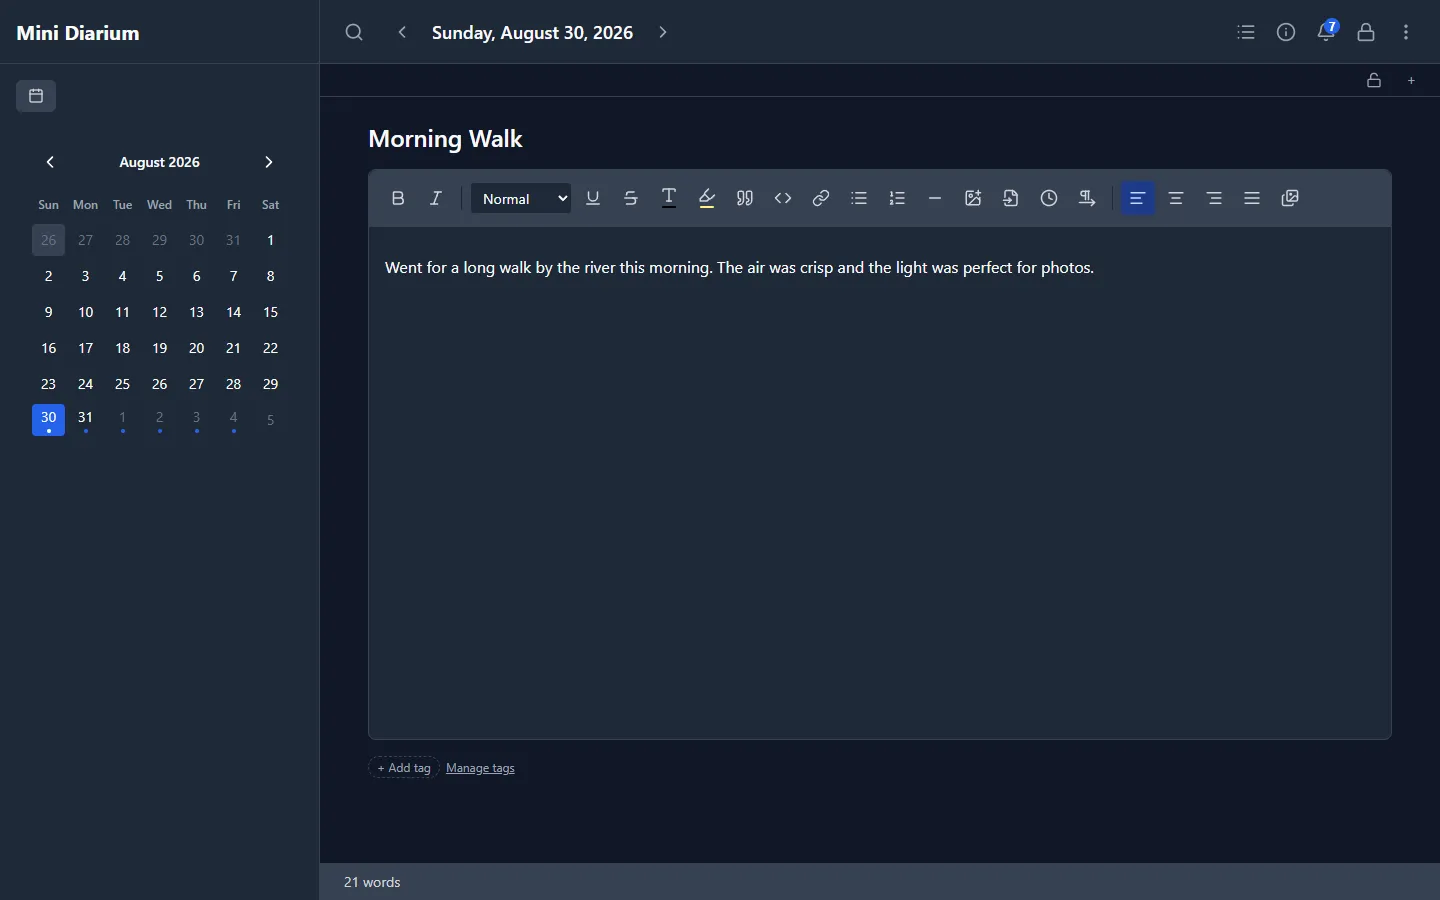
The header also shows an About button (ⓘ) and a bell icon for the notification center. The bell displays an unread badge when a new release ships; click it to read what changed and mark notifications as read. Entries with more to say show a Read more button that opens the full write-up, with headings and lists, without leaving the app.
As an alternative to your password, you can register a key file in Preferences → Authentication Methods. Once registered, use the "Key File" tab on the unlock screen and select your .key file to unlock without typing your password.
You can also enable idle auto-lock in Preferences → Security → Auto-Lock. When enabled, Mini Diarium locks automatically after the configured period of inactivity.
Multiple Journals
You can maintain separate journals for different purposes: personal, work, travel, and so on. Each journal is an independent encrypted database file. Several journals can share one folder as long as they use different filenames — the save dialog (or the Filename field on Flatpak) lets you rename a new journal to avoid a clash.
Adding a journal: Use the Journal Picker's add actions. You can create a new journal — in the default location or a folder you choose — or add an existing diary.db.
Where a journal can live: any ordinary folder you can write to. Three cases are refused, with an explanation:
A journal already in your list. Two journals pointing at the exact same file — the same folder and the same filename — are refused with "already in your list", since unlocking the second one would really be asking for the first journal's password under a different name. Journals with different filenames can share a folder without any conflict.
A backup snapshot. Files named
backup-*.db, and anything inside abackupsfolder, cannot be opened as a journal, because opening one would write to it and destroy the restore point. To read an old snapshot, copy it out of thebackupsfolder first and open the copy.A temporary sandbox location (Flatpak only). On the Flathub build, browsing to a folder outside the app's sandbox returns a temporary path under
/run/user/…/doc/rather than the real one. It works at first and stops working later, so it is refused. Use the default location, or grant the app permanent access to the folder you want with Flatseal before selecting it.
Switching journals: Open the Journal Picker, choose the journal you want, and then unlock it. On a shared device, this lets each person select their own journal before any authentication prompt appears.
Removing a journal: Remove a journal entry from the Journal Picker. This only removes it from the configured list; the journal files on disk are not deleted. Removing the last configured journal is allowed and leaves the picker in an empty state.
If you only have one journal, the Journal Picker simply shows that single journal as the only choice.
Local-Only Journals (No Password)
When creating a new journal, you can choose the Local-only mode. Instead of a user-chosen password, the app generates a random key at creation time and stores it in the OS-managed app data directory. The journal auto-unlocks on each open without a password prompt.
This mode still encrypts your entries with AES-256-GCM. The protection trade-off is important to understand: copying only the diary.db file to another machine will not be readable there, but anyone with access to your OS account can open the journal without any additional authentication. A risk acknowledgment checkbox is shown before creation to confirm you understand this.
You can upgrade a local-only journal to password protection at any time using Preferences → Authentication Methods.